Page cover

Connect Sentinel to local WiFi via modem

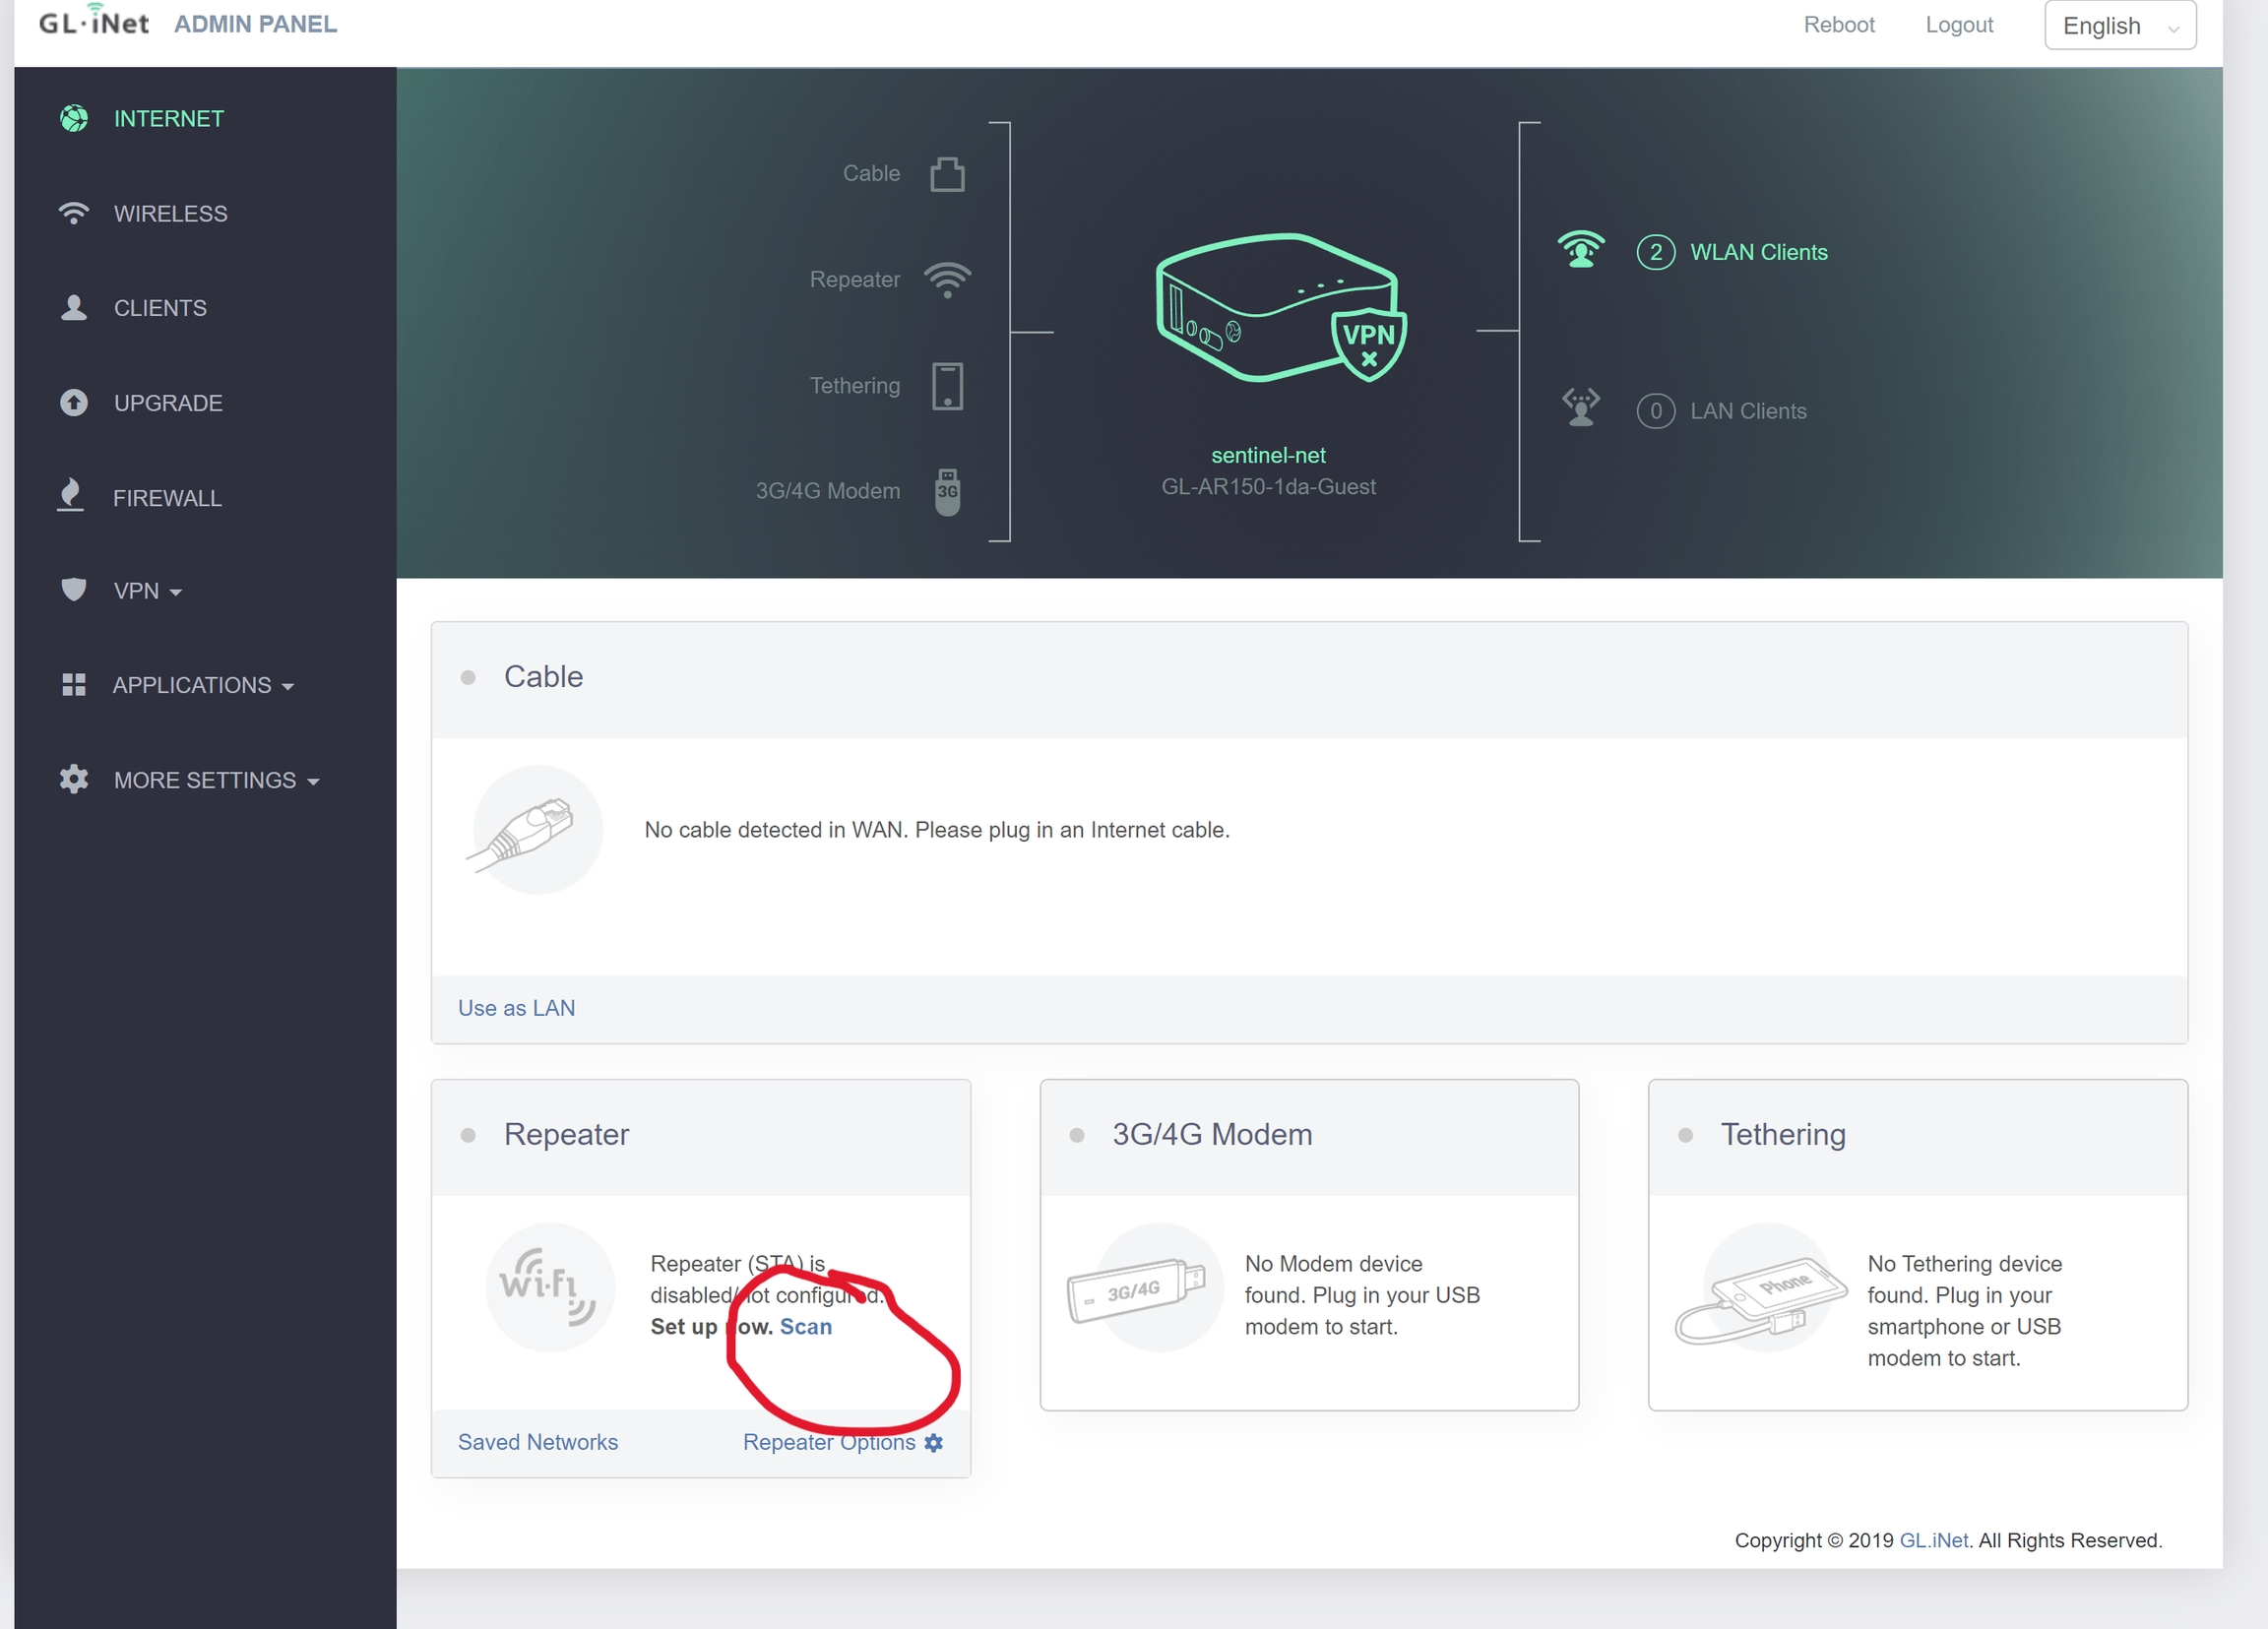
Connecting your Sentinel to a WiFi modem

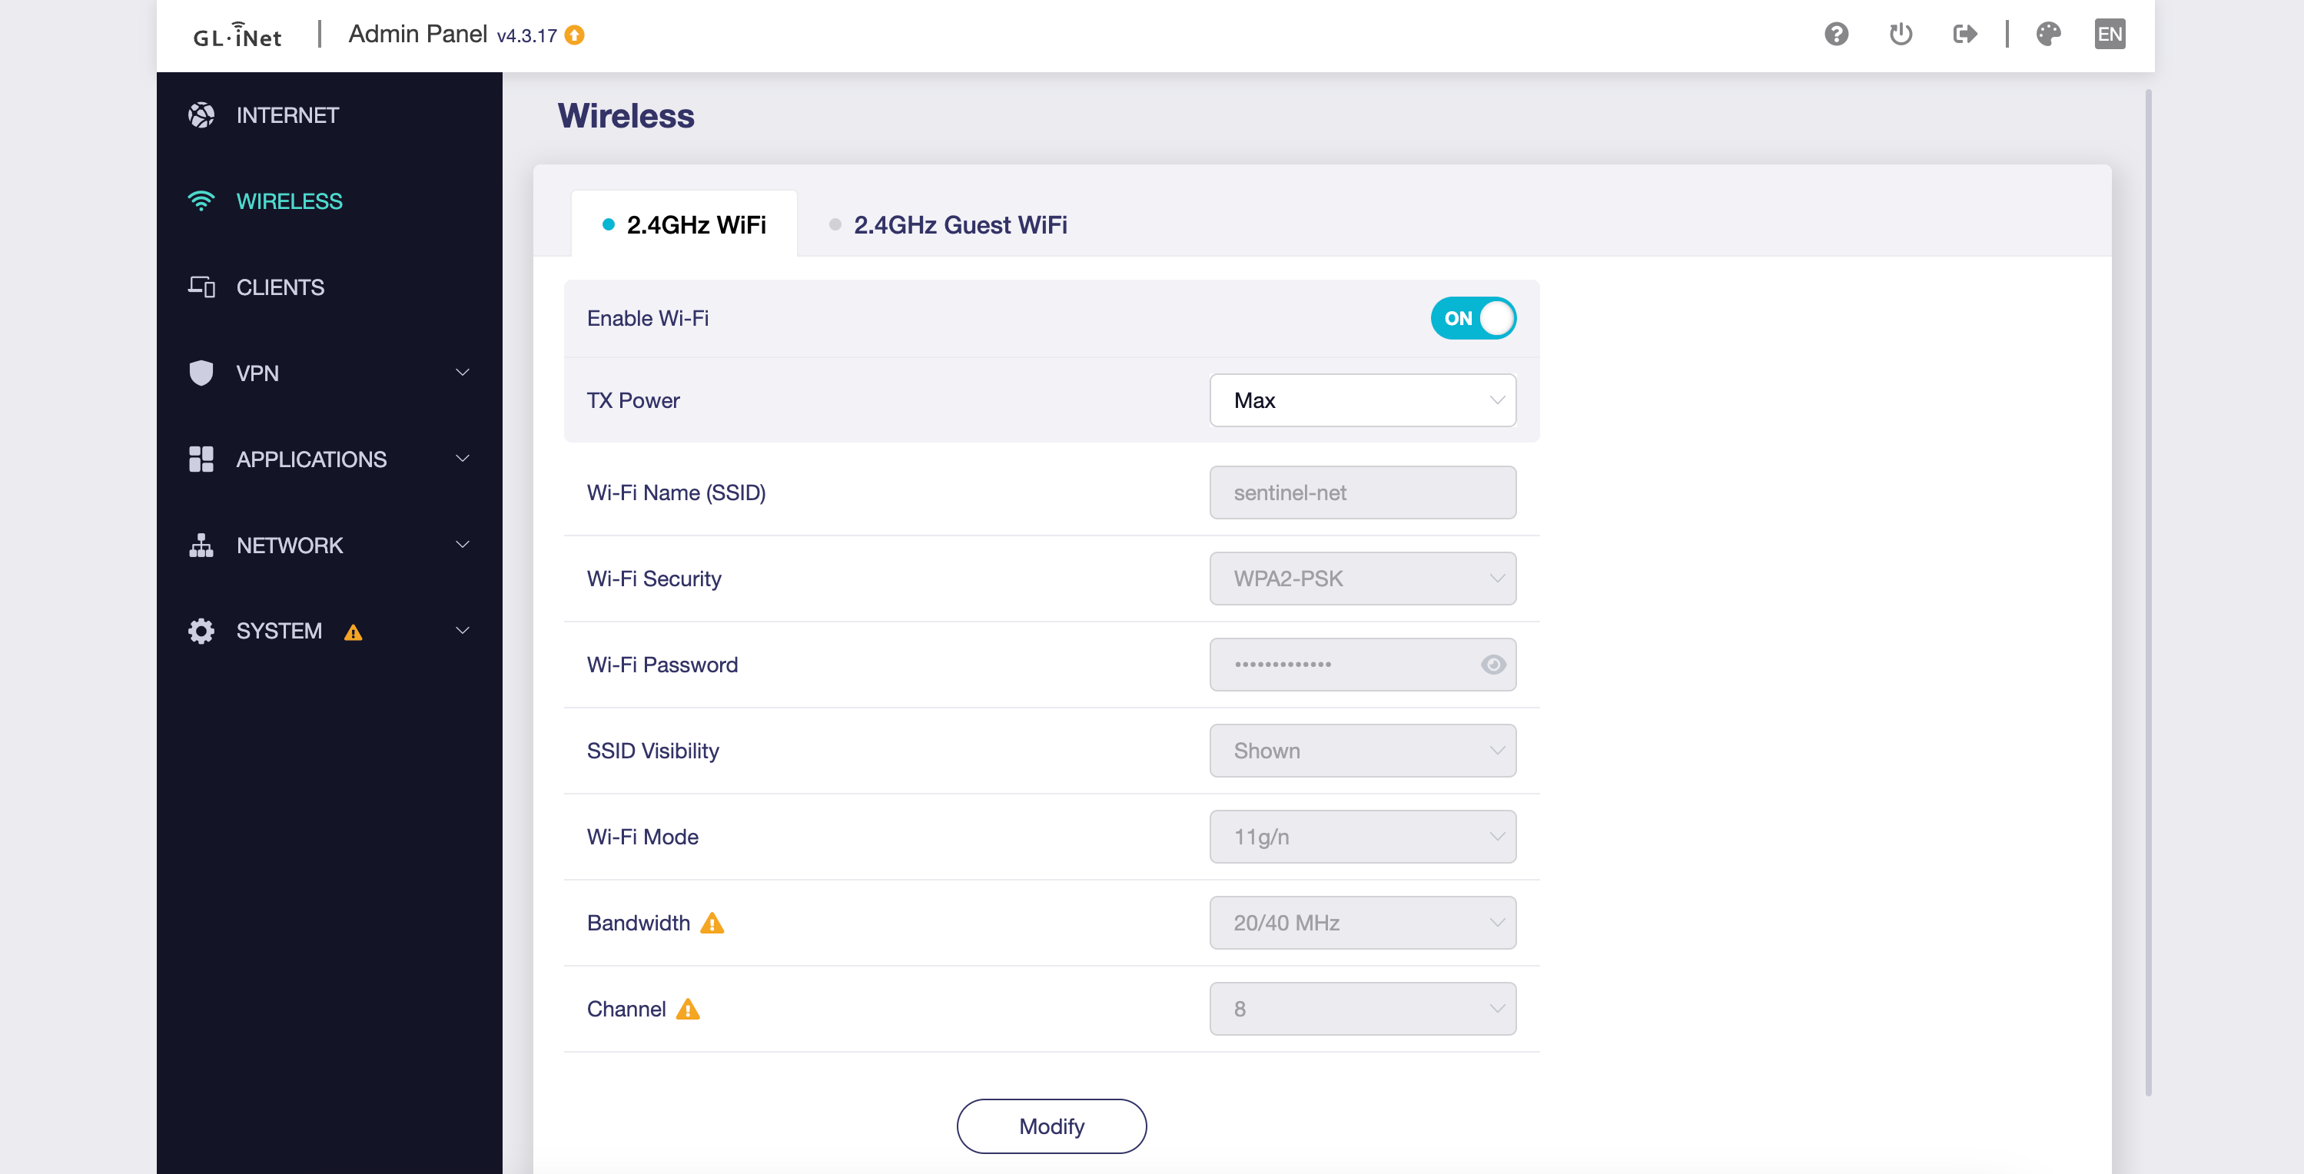
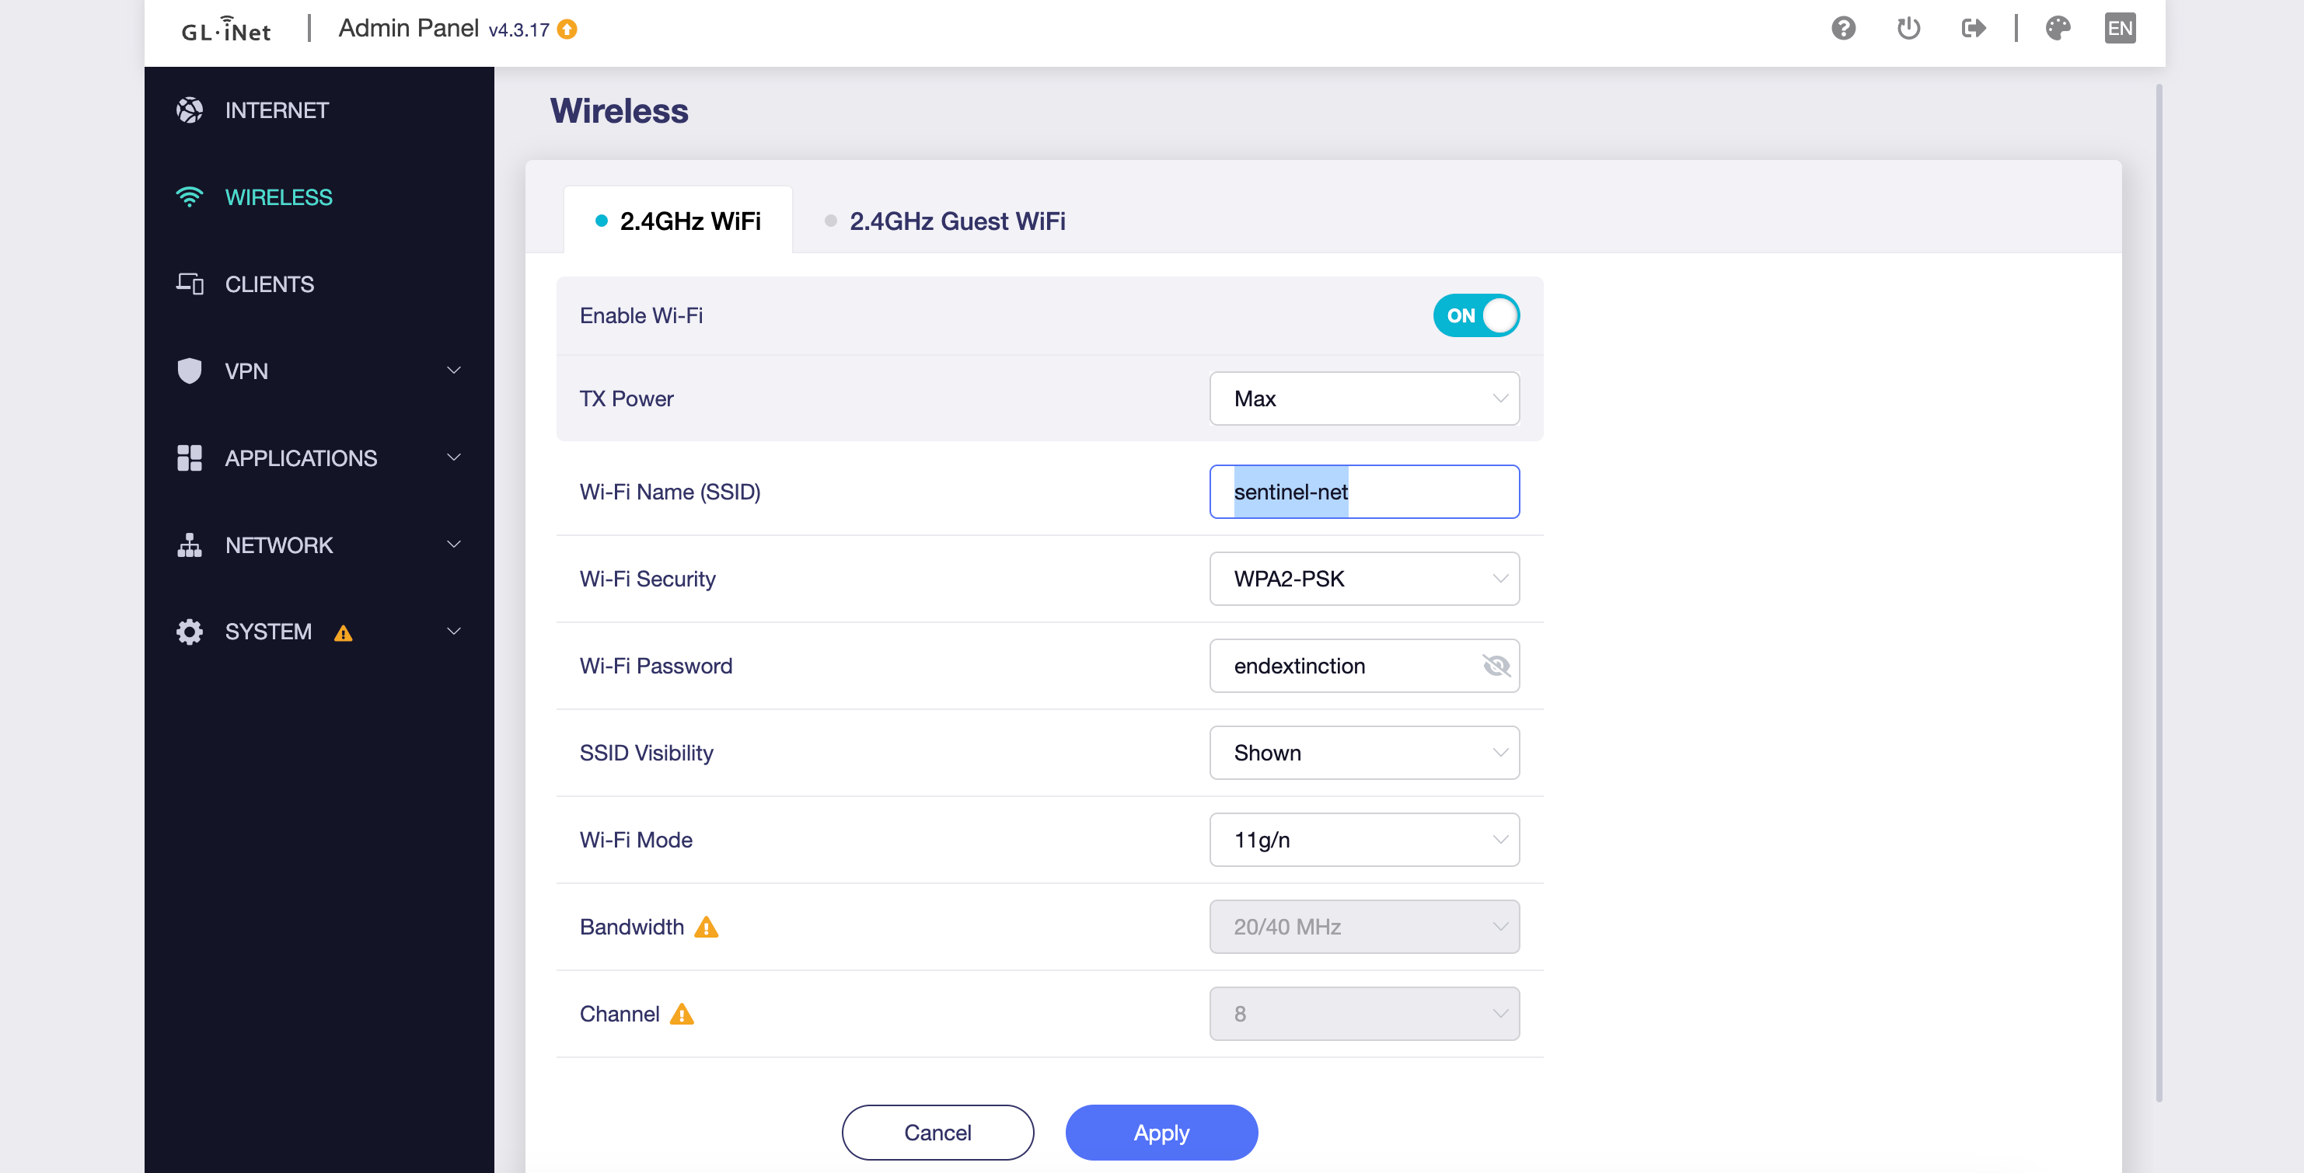
Setting up the modem to 'sentinel-net' login credentials

  • Power on the modem and connect to the modem's Wi-Fi signal (as provided by the modem's instructions) and the provided password

  • Visit the modem's Admin panel through the provided IP address (e.g. http://192.168.8.1)


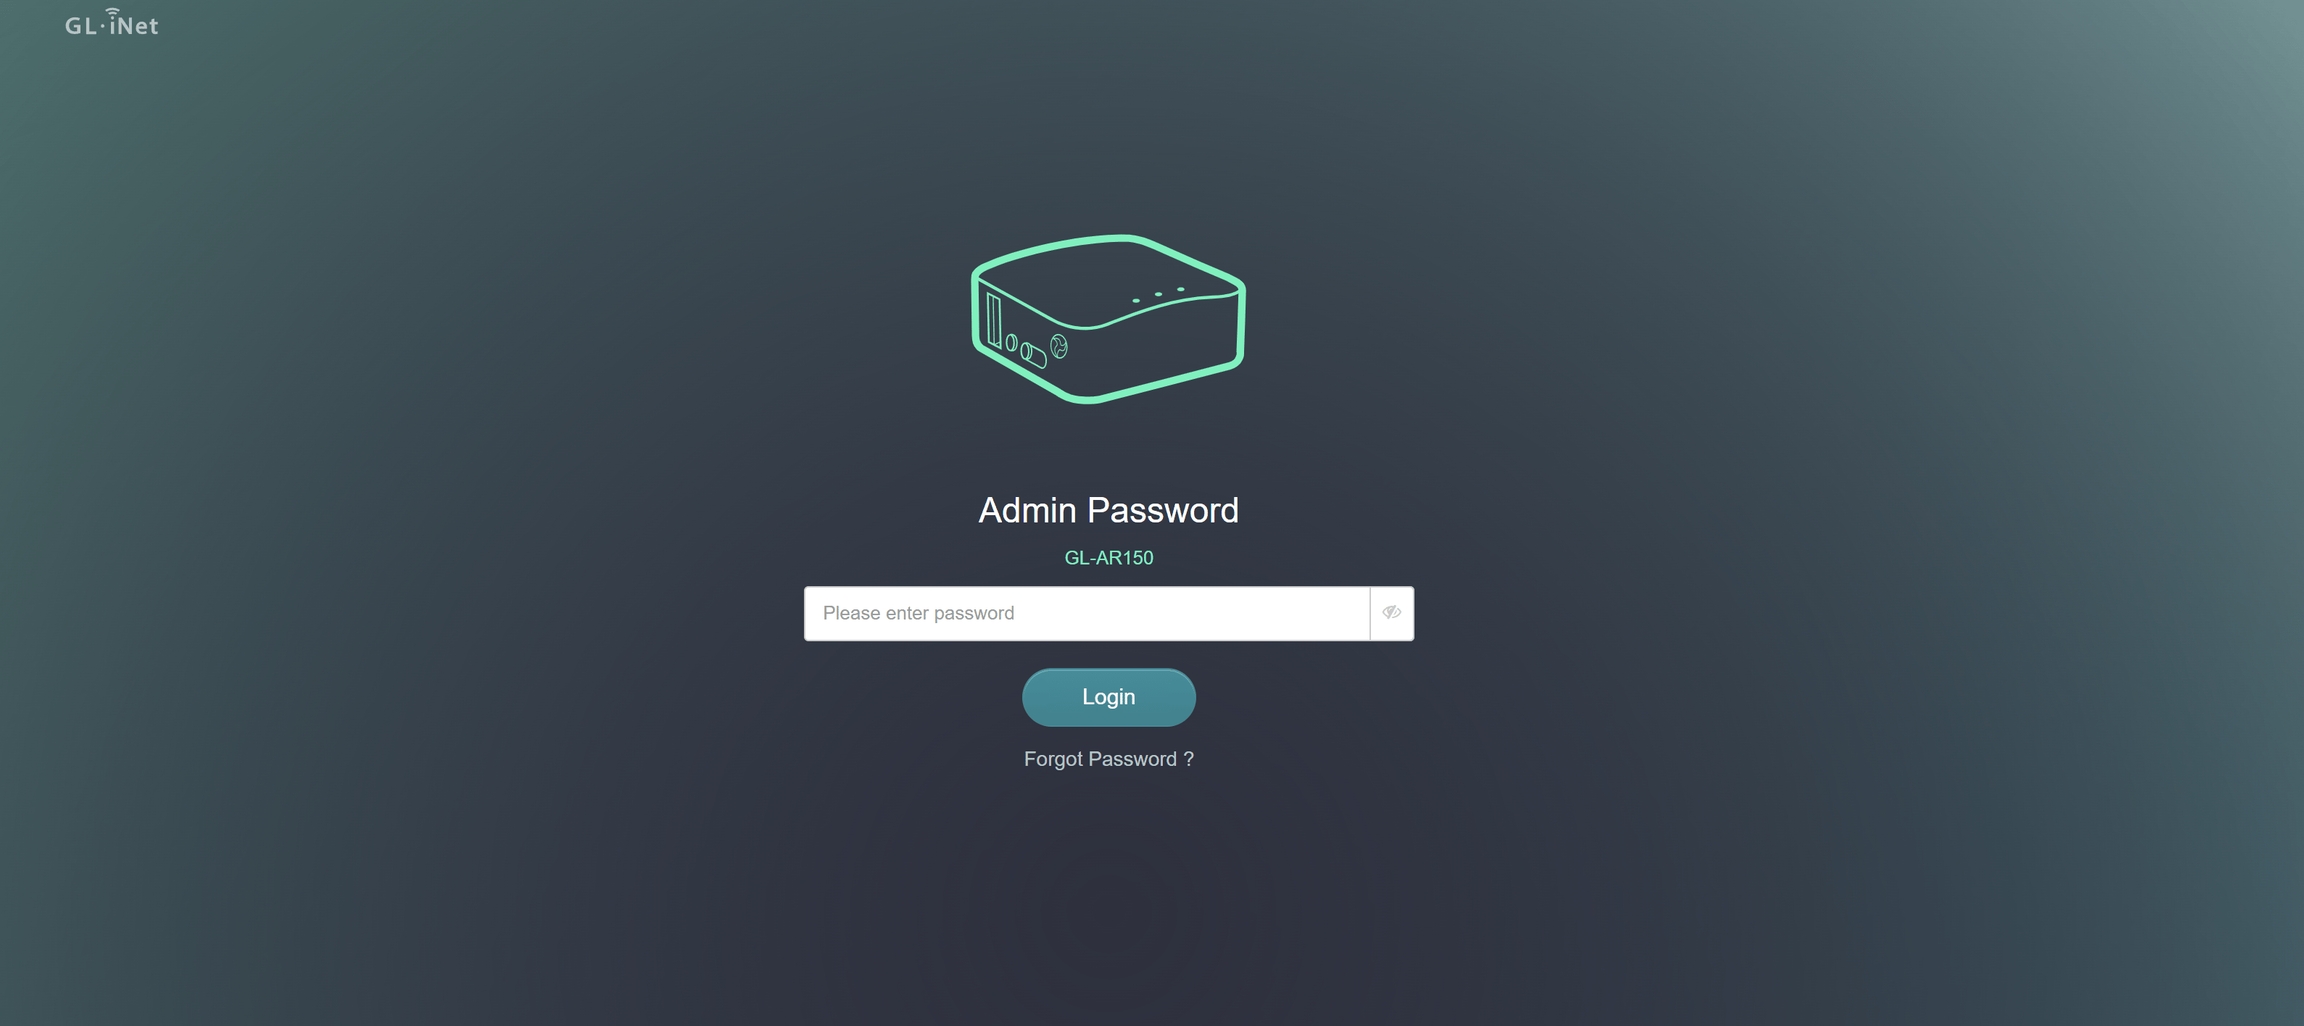
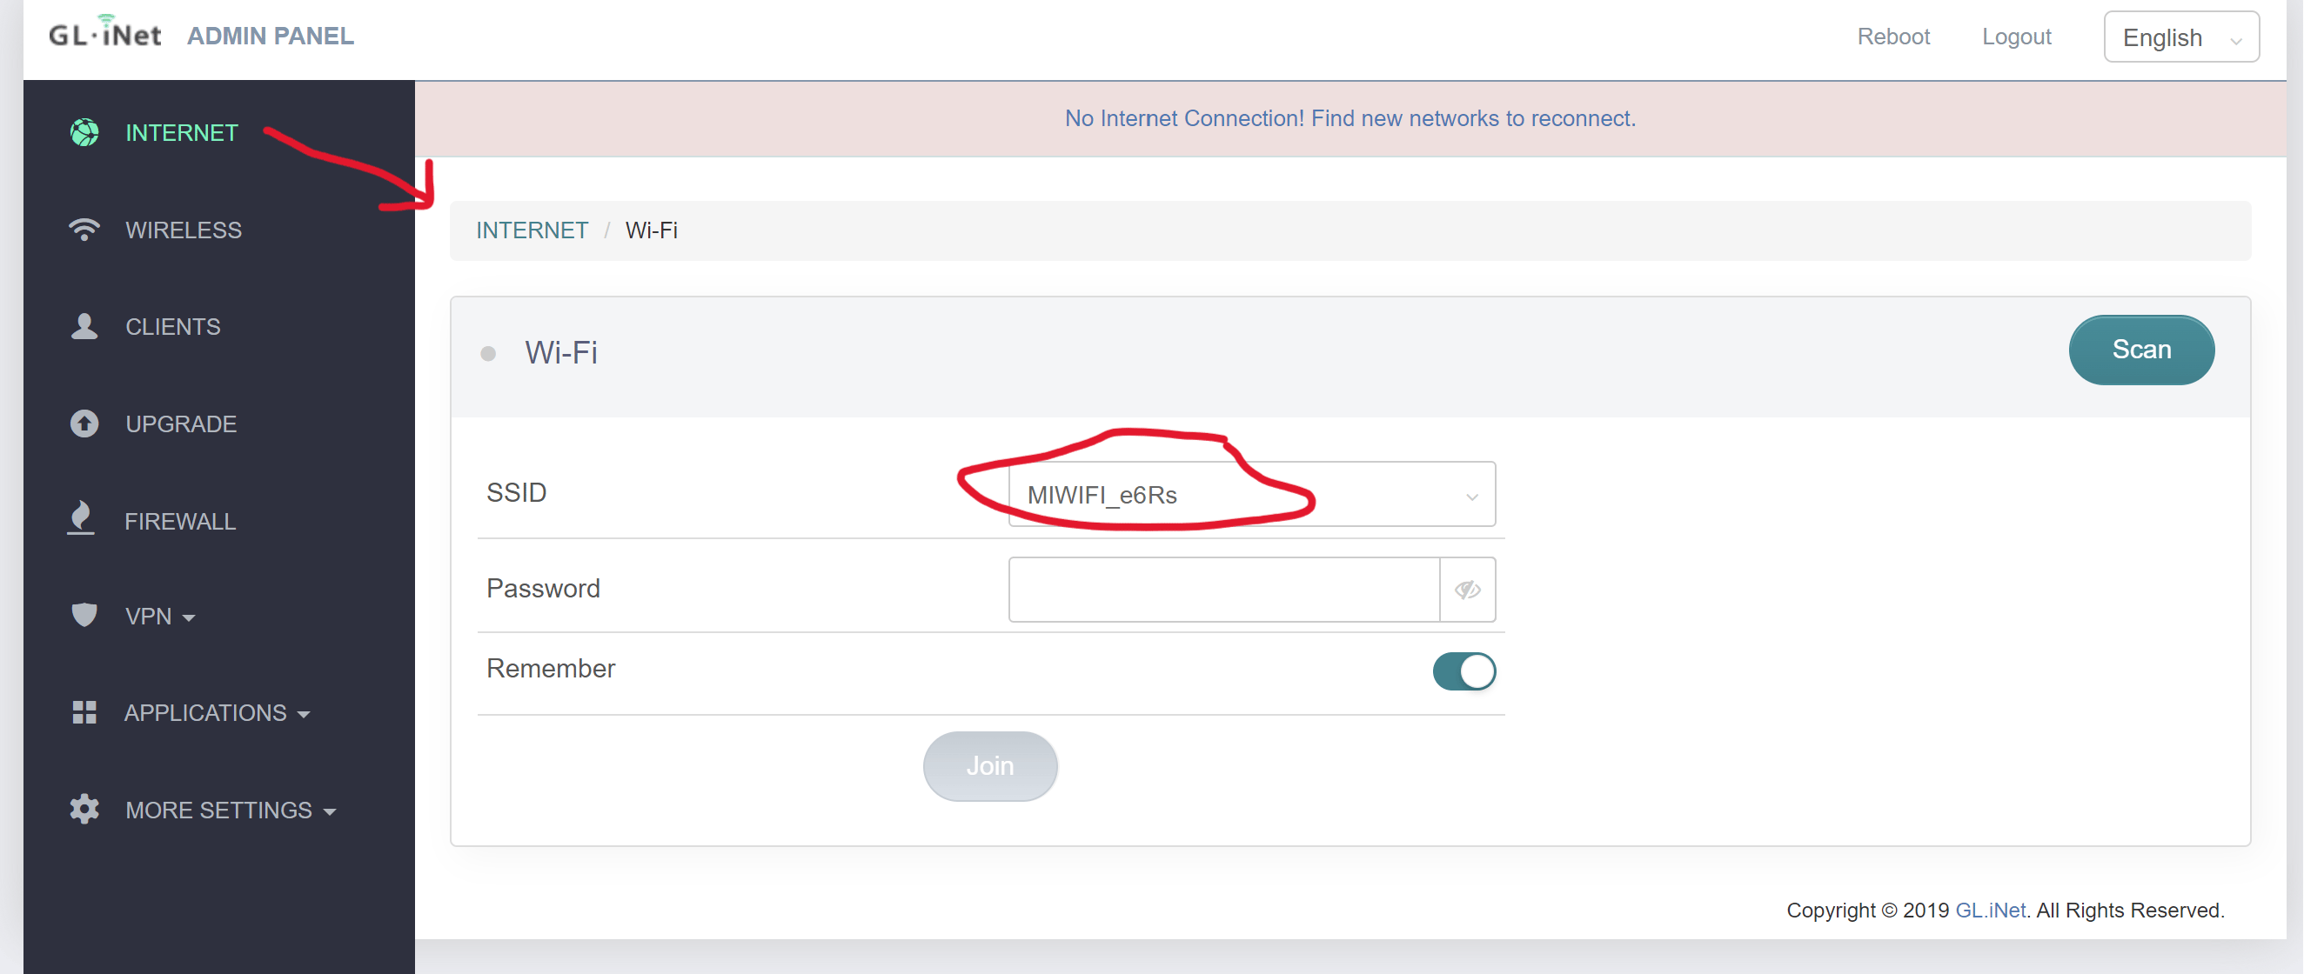
Connecting to a modem that has 'sentinel-net' Wi-Fi name and login credentials

This process repeats your WiFi to a network that Sentinel knows (called sentinel-net). This allows the Sentinels to always look for the same network wherever they are

For this, you need a working WiFi connection (or Hotspot) without a secondary verification (e.g. hotel Wifi with a login page)

  1. Plug-in provided modem via micro USB cable

  2. Connect to sentinel-net (PW: endextinction)

  3. Open the browser and navigate to 192.168.8.1 (PW: endextinction). This should pop up when you navigate to 192.168.8.1 on sentinel-net for the first time

  1. Click the Scan button, and connect to your Wi-Fi network. Click the scan button

    1. Example of personal WiFi

  1. 'sentinel-net' is now piggybacking from the Wi-Fi you have selected. Check that you are both connected to sentinel-net network and that a webpage loads.

Sentinel name (e.g. jumping-nexus) should pop up in Clients
  1. Now you know that your Sentinel is connected to your local WiFi via sentinel-net. You can now proceed to updating your device.

Last updated