Insights
Viewing Captured Insights
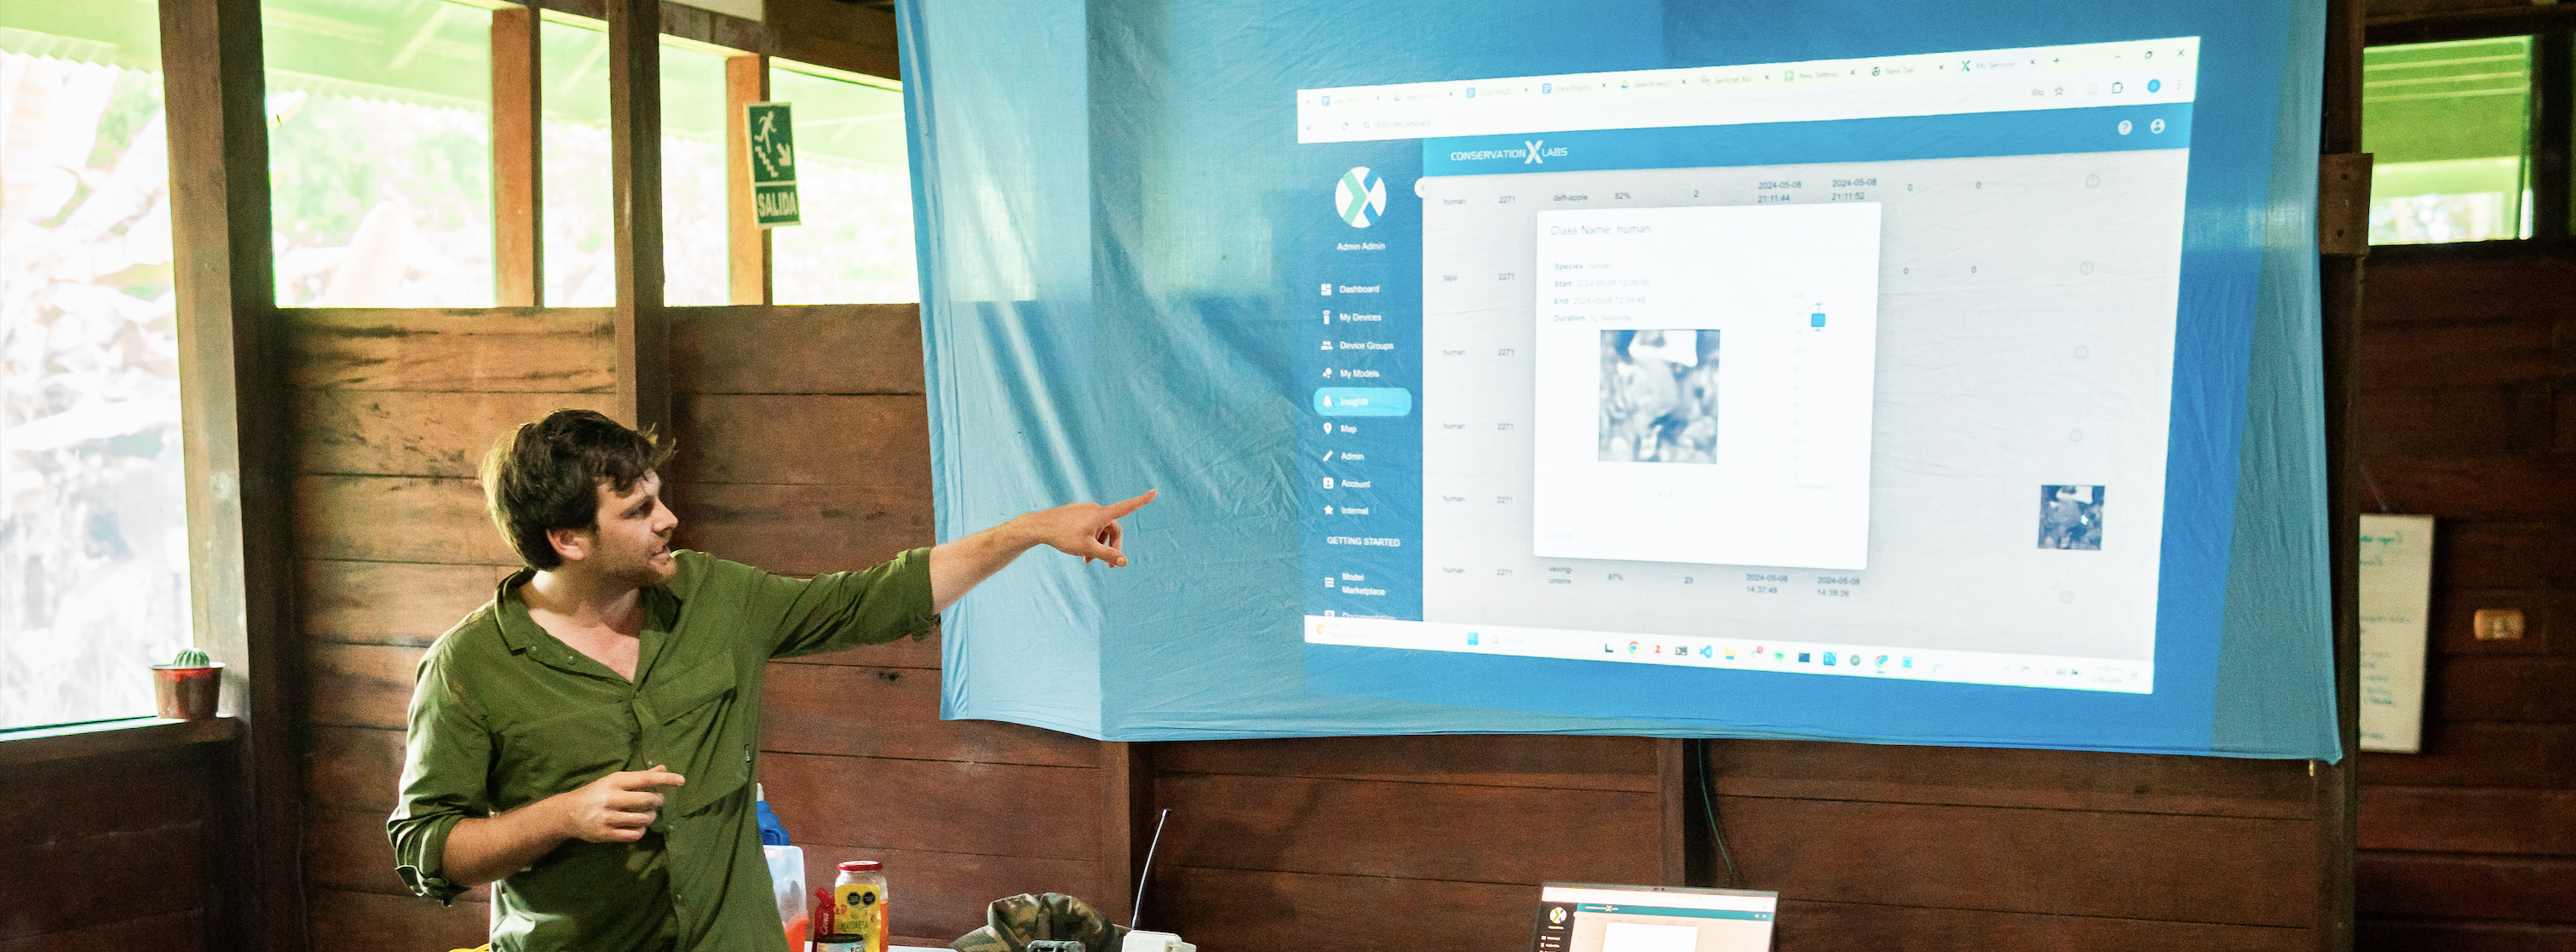
Open the Insights panel to see a list of detections from Sentinels
Each insight entry includes:
Species detected (with confidence score)
Timestamp of detection
Device location (GPS or deployment site)
Thumbnail preview (if available)
Click on an insight to view details or confirm detections to refine AI accuracy.
Filtering and Sorting Data
Filter insights by species, location, or confidence score.
Sort by most recent detections or device name.
Use the Open Map feature to visualize insight locations.
Why Don’t All Insights Have Images?
Sentinels using WiFi or Cellular can send thumbnail images.
LoRa and satellite-based Sentinels can send lower resolution thumbnail images if there is successful connectivity
Insights page components

Filters: All data that is displayed in the table can be filtered via the filters dropdown.
Filters are in an “AND” configuration and will only display devices that qualify for all filters.
Download CSV: Download all device table data or just the filtered data.
Action Items and Save Actions: Archive, acknowledge, favorite, and save action buttons. View this section for more information
Show images: Toggle for the user to show or hide the image column.
Show archived: Toggle for the user to show or hide the archived insights.
More "triple dot" options: Set which columns to display in the table.
Rows:
Class Name: The name of the animal class associated with the insight.
Model ID: The unique ID associated with the model that was used to generate the insight.
Device ID: The unique ID associated with the device that captured the insight.
Device Name: The name of the device that captured the insight.
Confidence: The confidence that model has that the prediction made is correct. Generally speaking > 80% confidence is a reliable prediction.
Received At (UTC): The time in which the Sentinel backend received the insights in UTC.
Info icon: Hover your mouse to get more information about the column.
Camera Timestamp: The time the image was created is based on the time set on the camera trap.
Comms Source: The communication method the insight was sent to the Sentinel dashboard. Options are Satellite, Cellular, LoRa, and WiFi.
Latitude: The latitude of the device when the insight was captured.
Longitude: The longitude of the device when the insight was captured.
Map: A button that will show the location of the insight via a map popup.
Image: The image associated with the insight. Depending on the communication source used, the image may appear different.
A '!' icon designates that there is no image in the dashboard associated with the insight. This means something may have interrupted the Sentinel’s communication or that the Sentinel is still attempting to send the insight but it is taking longer than expected.
WiFi images include the entire image with a red box around the section of the image that the insight is based on.
Cellular images are cropped images containing the section of the whole image that the insight is based on. Quality has been reduced to limit data transfer consumption.
LoRa and Satellite images are compressed versions of the cropped images containing the section of the whole image that the insight is based on. These images are only ~170 bytes in size and use proprietary AI compression techniques to allow for minimum data loss. These images are used to give you a general idea of the shape of the animal in the original image.
Device Groups: a comma-separated list of groups the device is associated with.
Actions: Actions that can be set for an insight. Options: Acknowledged, archived, and favorited.
Sort rows: To sort the rows by a particular column, click on the table header and an arrow will appear to let you know if the table is sorted in an ascending or descending order.
Set insights to archived, acknowledged, or favorited

Login to your mysentinel.info account.
Go to the Insights tab.
Select which insights you want to complete an action against.
You can bulk change the insights by using the selector at the far left of the table.
In order from left to right, the options are: (2.) Acknowledge, (3.) Archive, (4.) Favorite, and (5.) Clear all selected insights.
Acknowledge will keep the insight visible, but will move it to the end of the table.
By default the order of the insights is: favorite, no action, acknowledged, archived (may not be visible).
Archive will remove the insight from the table by default. Archived insights can still be shown by toggling the “show insight” toggle.
Favorite will move the insight to the front of the table.
Clear Selected Insights will deselect all selected insights.
Undo and...
Redo the addition or removal of actions prior to saving the actions.
Click Save Actions to start the process of bulk updating the insights. Once Save Actions is clicked, the insight cache will be marked as stale. See more information on the insight cache below.
The state of the insights, displayed as an icon.
The number of changes will show up in the bottom left corner.
Insight Cache
To allow for quicker and more stable viewing of insights, a user's insights on the dashboard are loaded from an insight cache. This cache is updated every time an insight is modified or added for that user. Changes to insights will not be displayed on the dashboard until the cache has completed it's update. This can take up to a few minutes.

A check mark icon will indicate that the insight cache is in a good state. The status of the cache is checked every few seconds while on the insights page.
If you would like to manually refresh the cache, click the refresh cache button.

A spinning arrows icon will indicate that the insight cache is stale. When the insight cache has been marked in a good state, the insights page will refresh.
For the first 5 minutes after an insight cache is marked stale, the refresh cache button will be disabled. This is to allow for the automatic insight cache management to complete.
Last updated